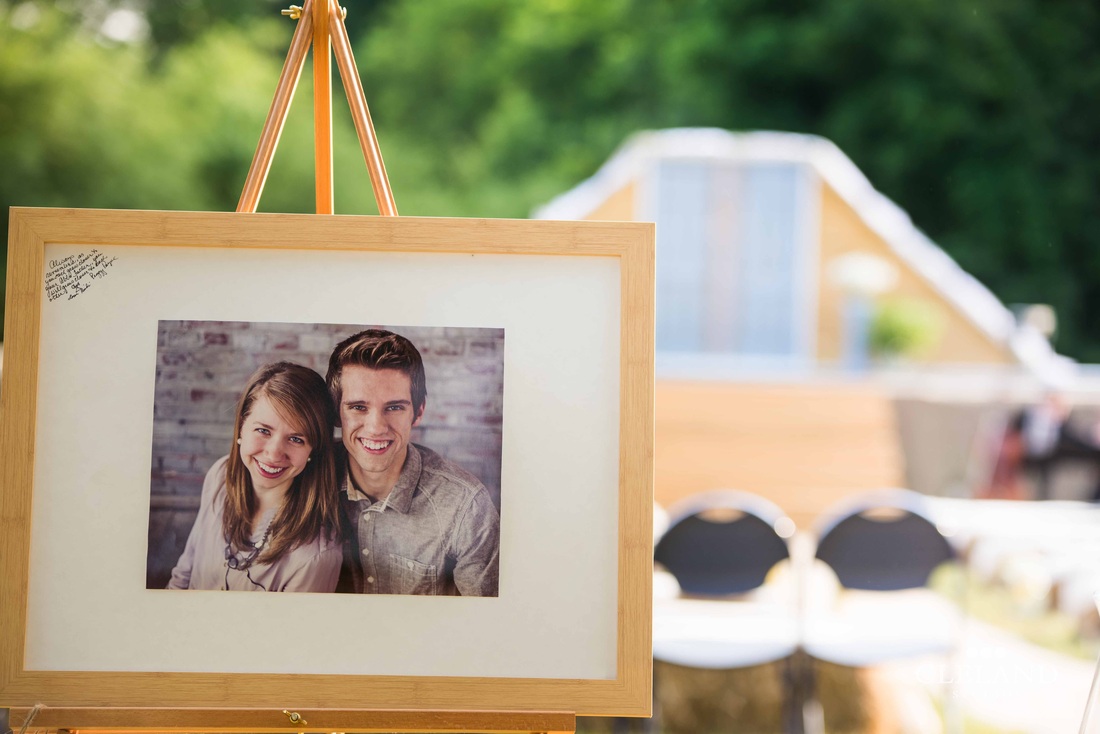
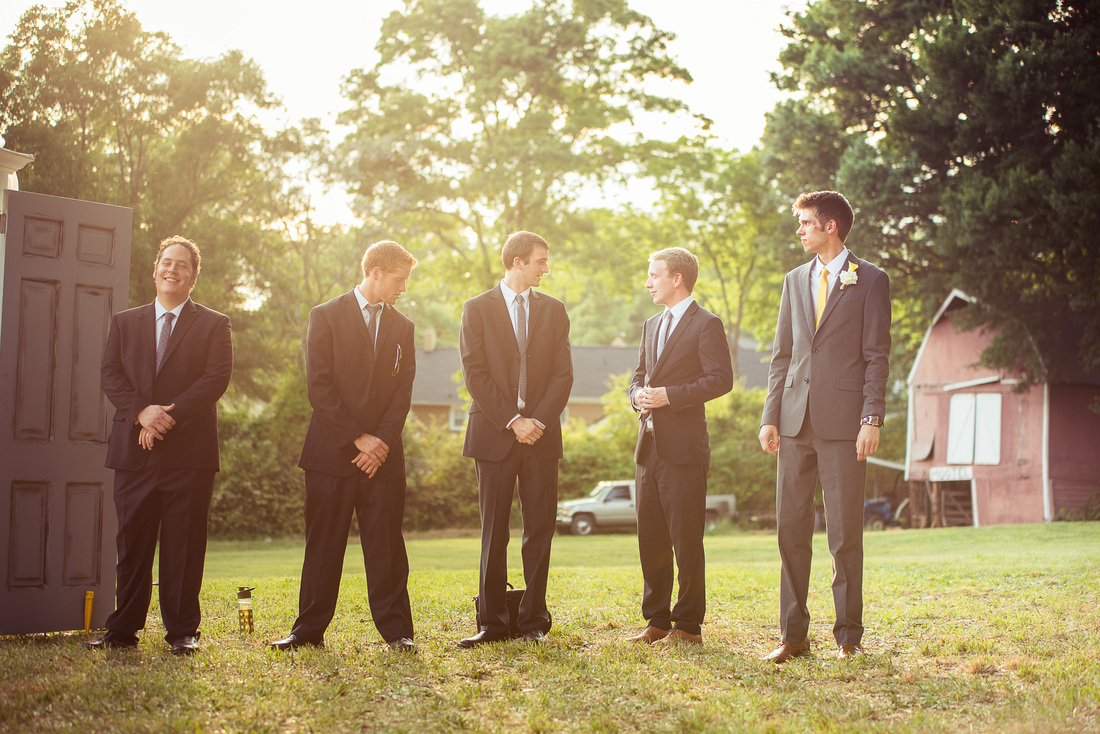
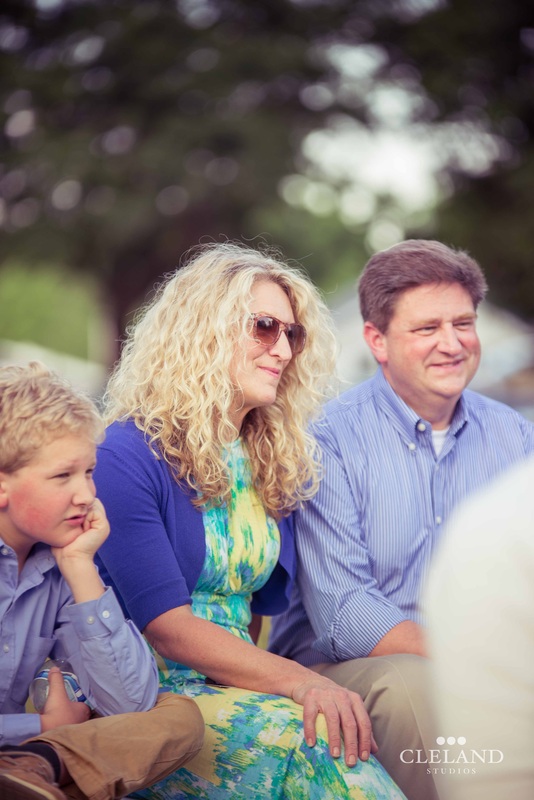
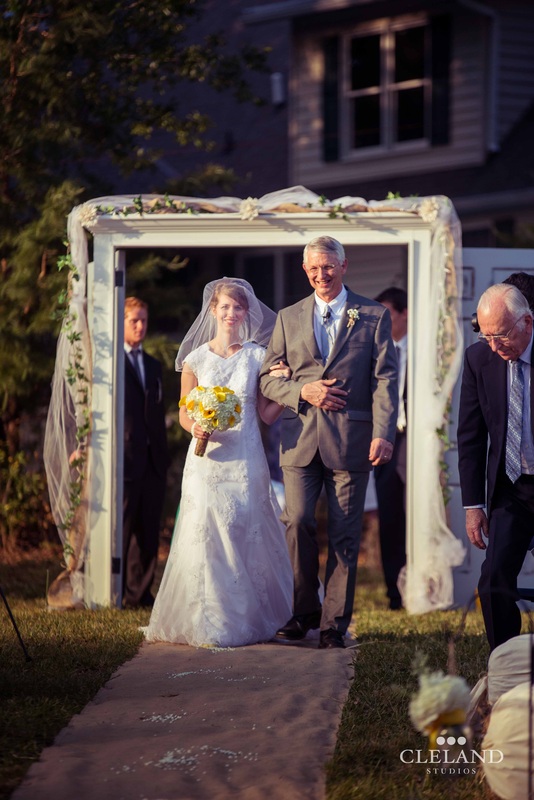
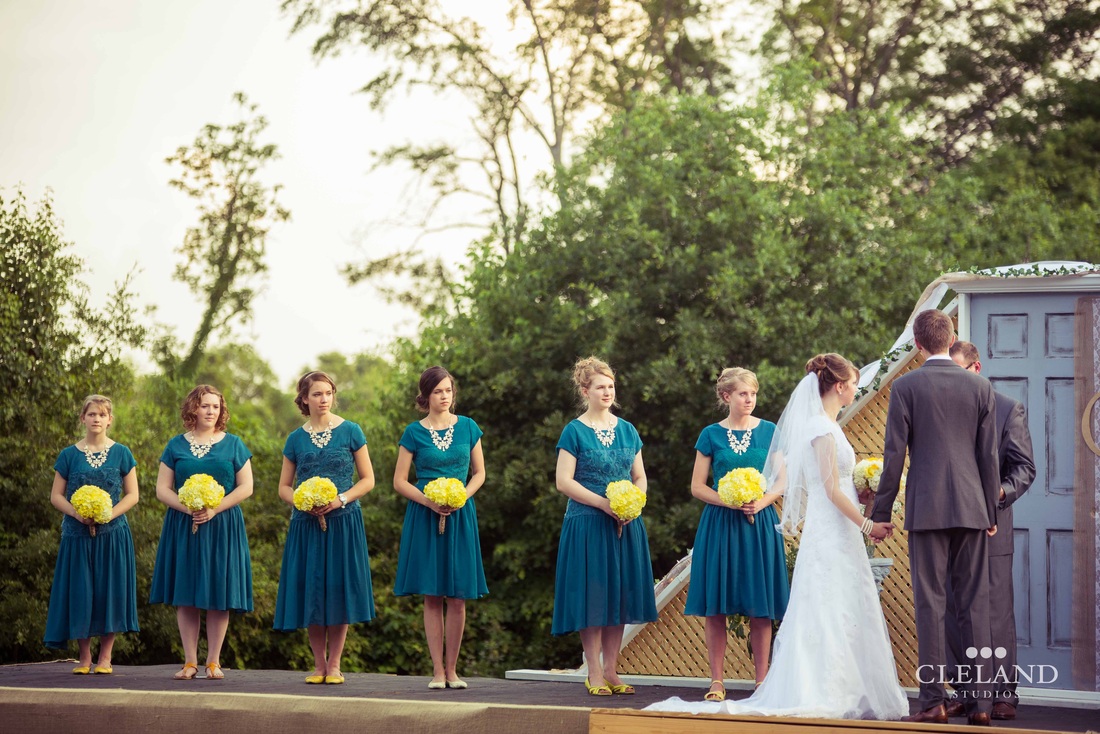
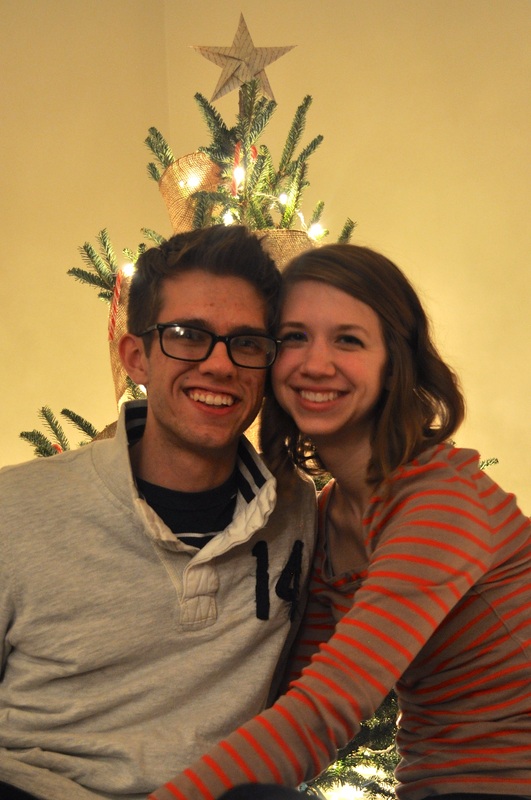
It's Wedding Wednesday! We had the most lovely outdoor wedding ceremony & reception. I will let the pictures do most of the talking, but we were SO thankful that the Lord provided us with the most perfect weather we could ever have asked for. Because trust me, we did ask. Thanks to Aunt Cheryl & Uncle Scott for graciously letting us use their back pasture for our wedding, and for all the hours of planning, building, decorating, deal finding and everything else. This would not have happened without their help as well as the treasured help of all of our friends & family that so willingly pitched in. We could not have felt more loved!
Location: Uncle Scott & Aunt Cheryl's Pasture, Greer, SC
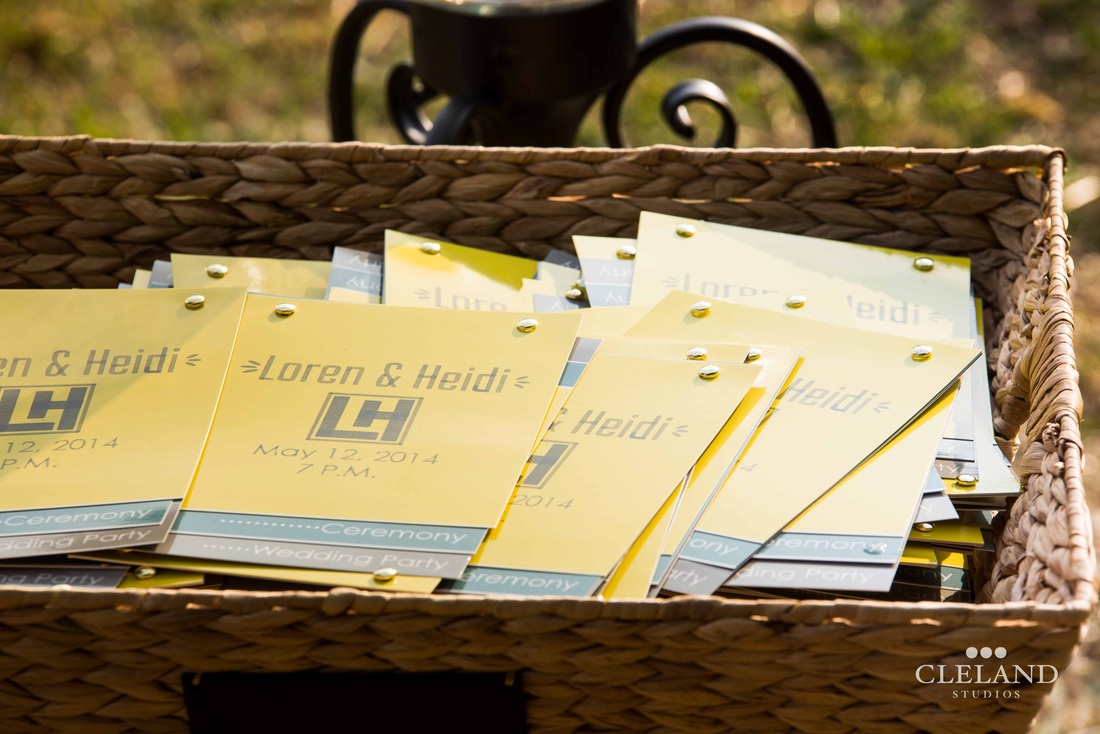
Date: May 12, 2014, 7 p.m.
Location: Uncle Scott & Aunt Cheryl's Pasture, Greer, SC
Date: May 12, 2014, 7 p.m.

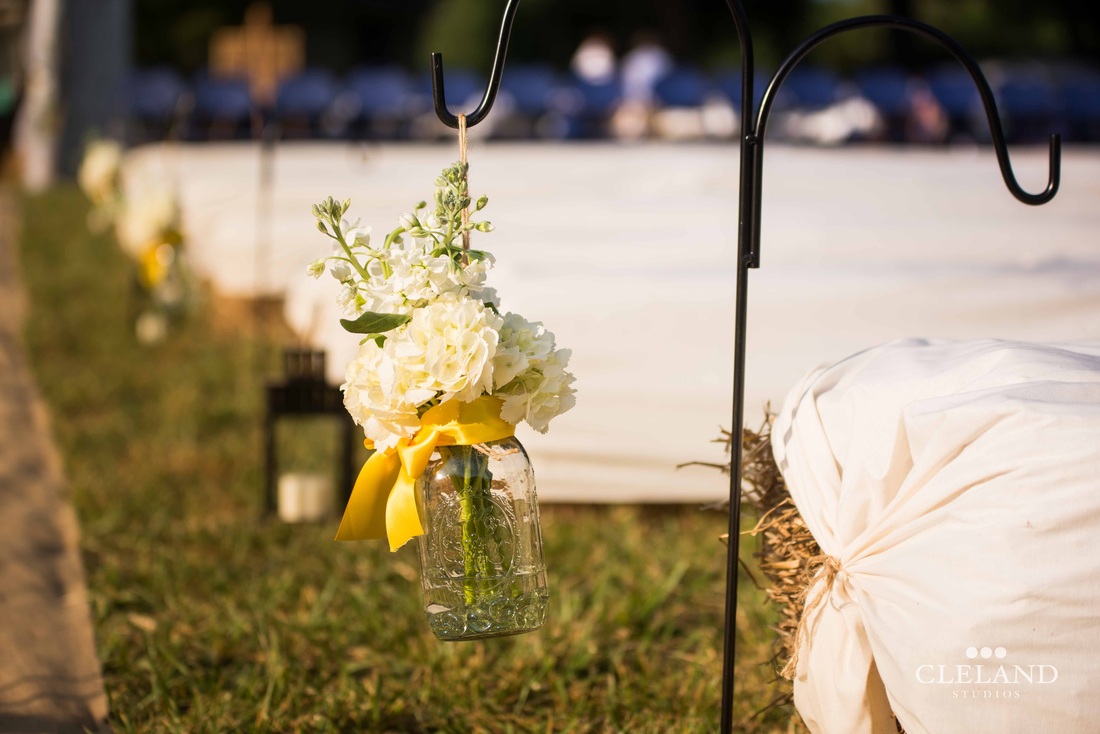
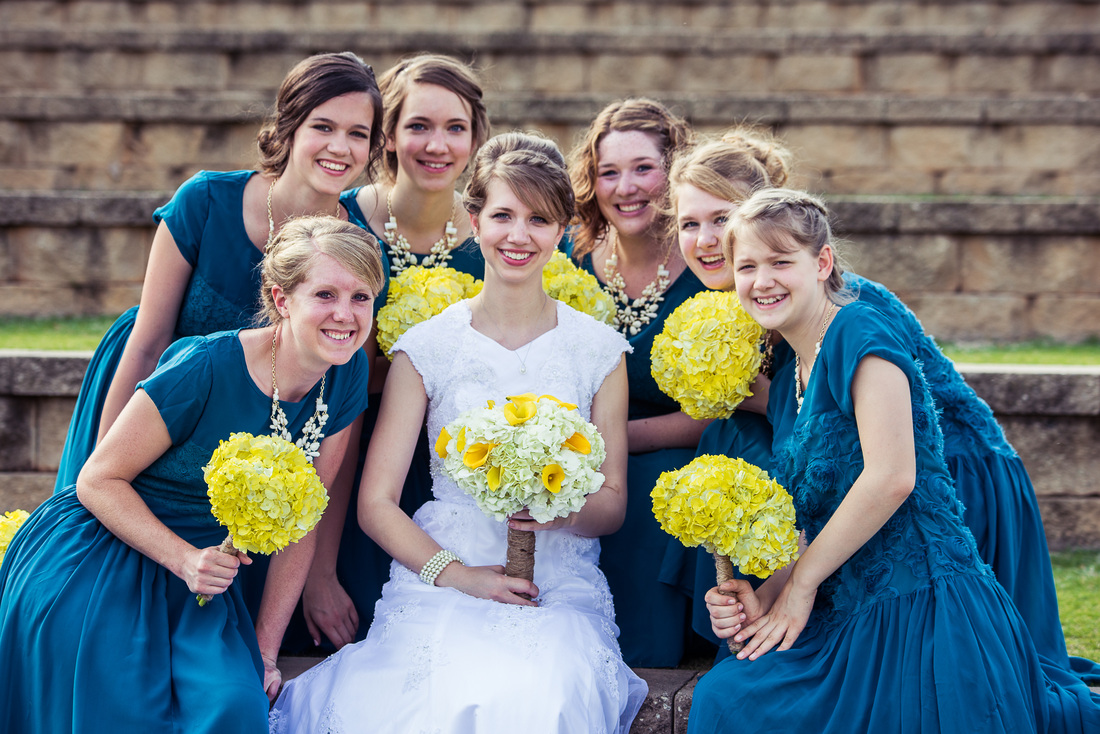
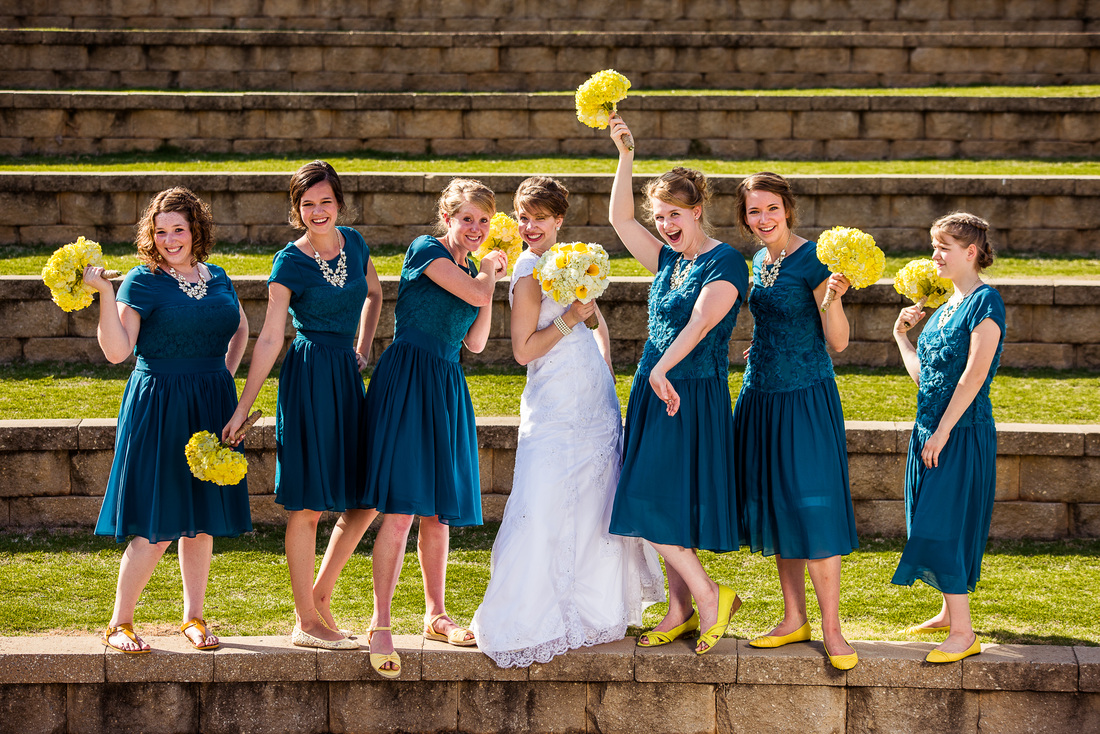
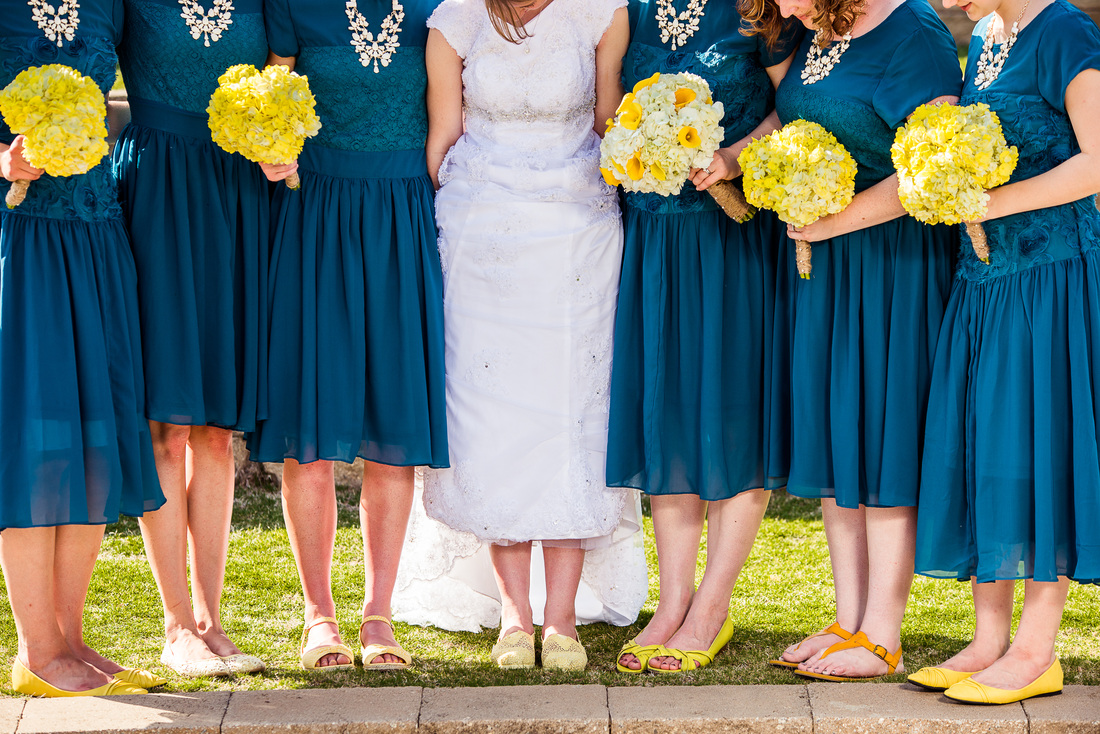
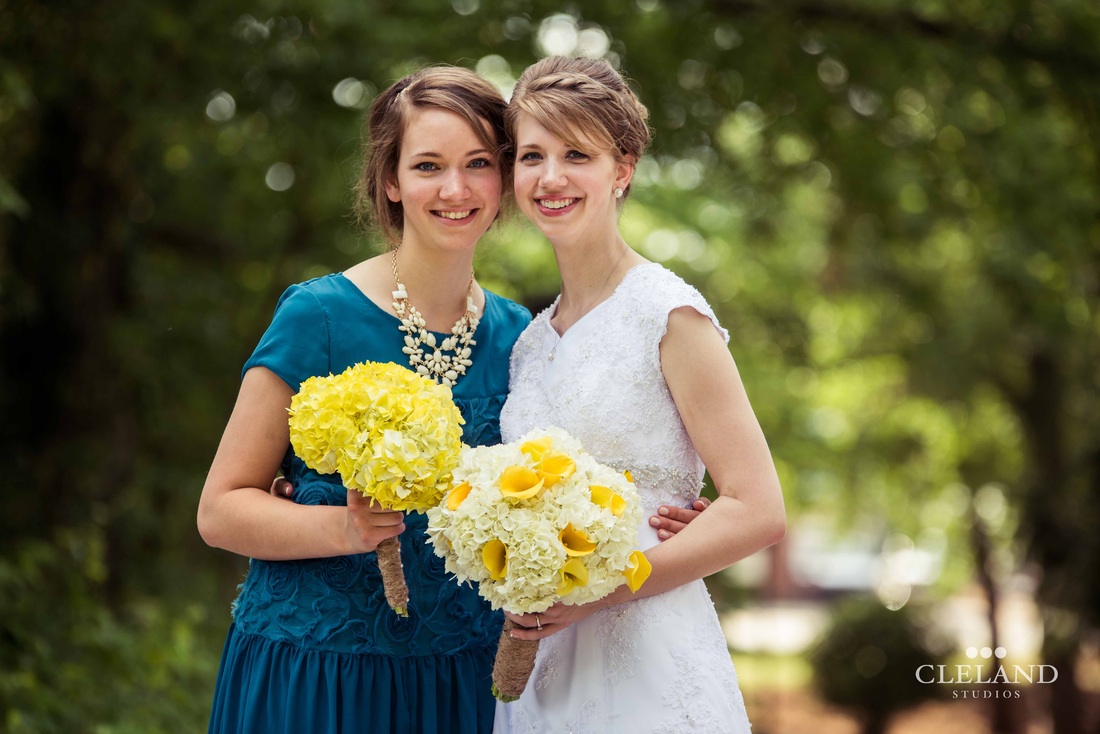
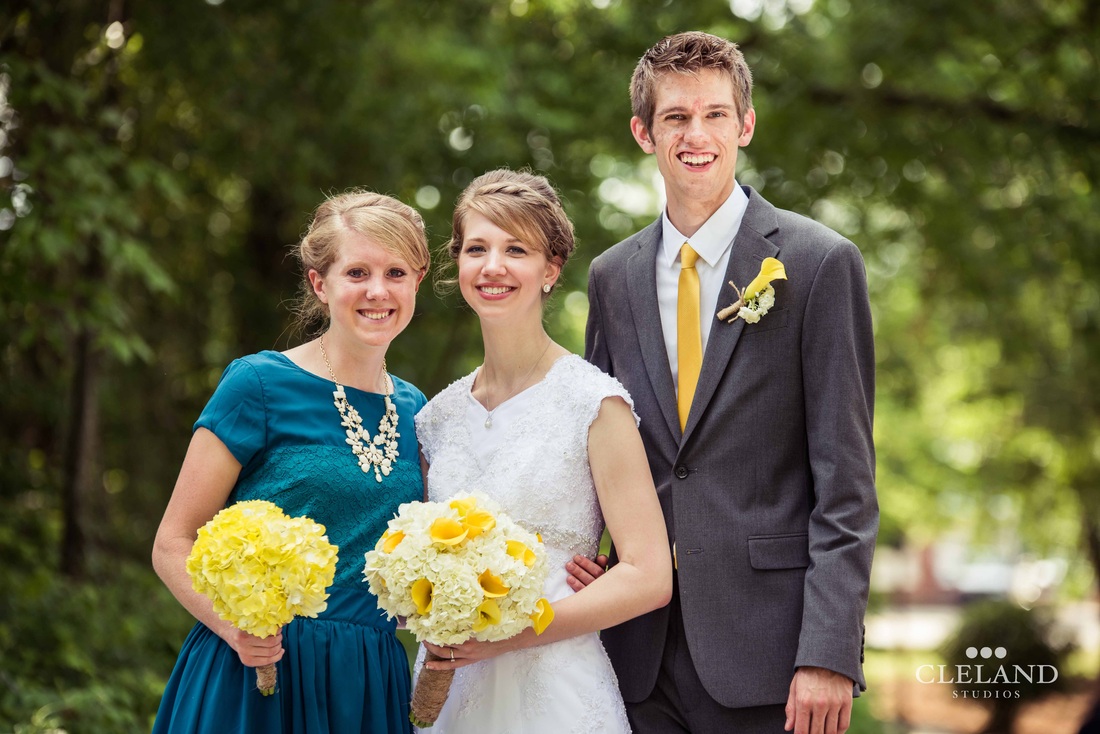
My sister Crystal did ALL the flowers for the wedding. She's quite amazing!
 |  |
 | 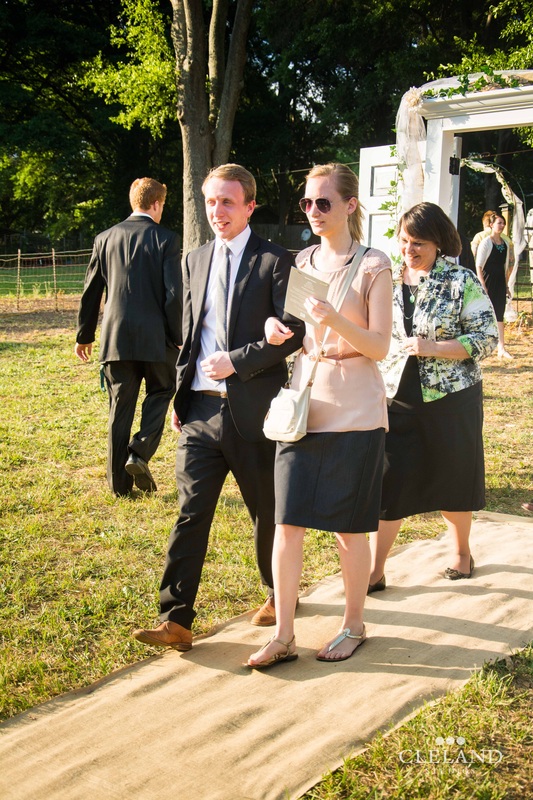 |
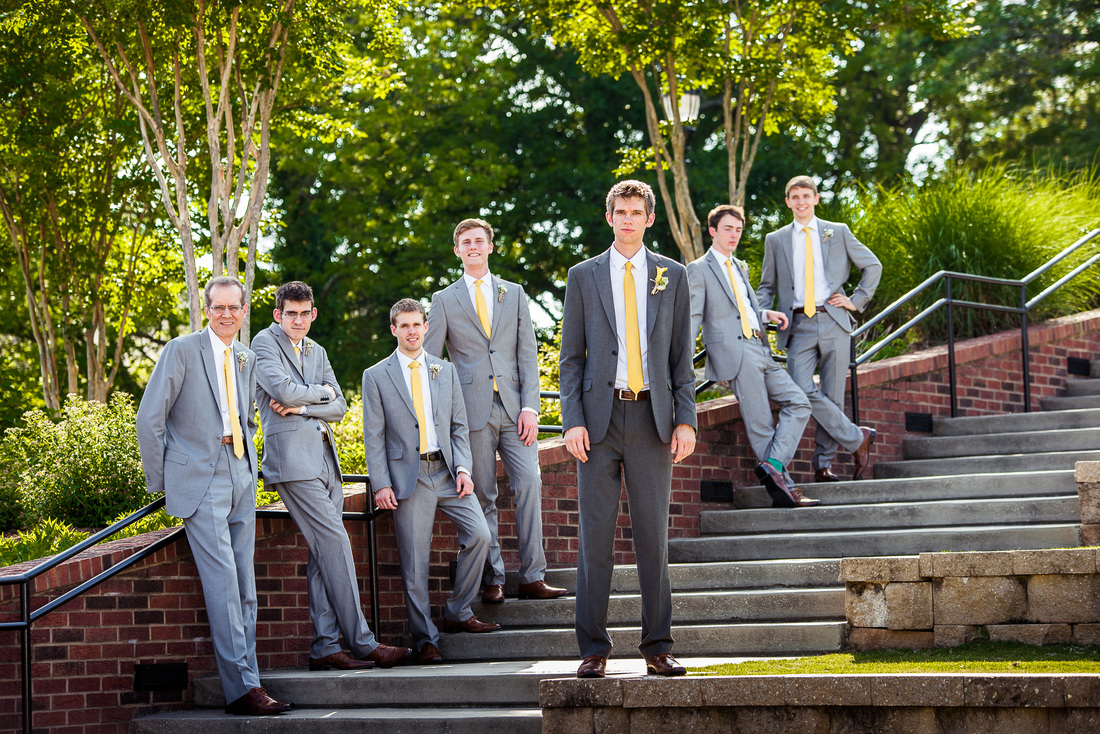
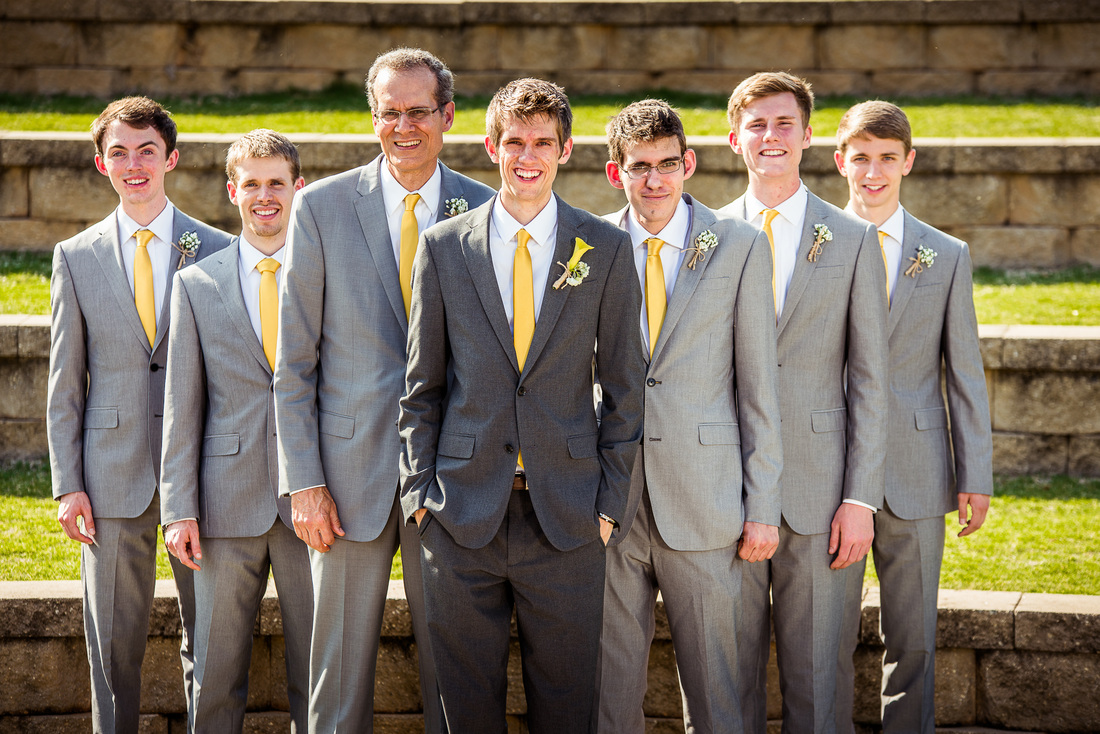
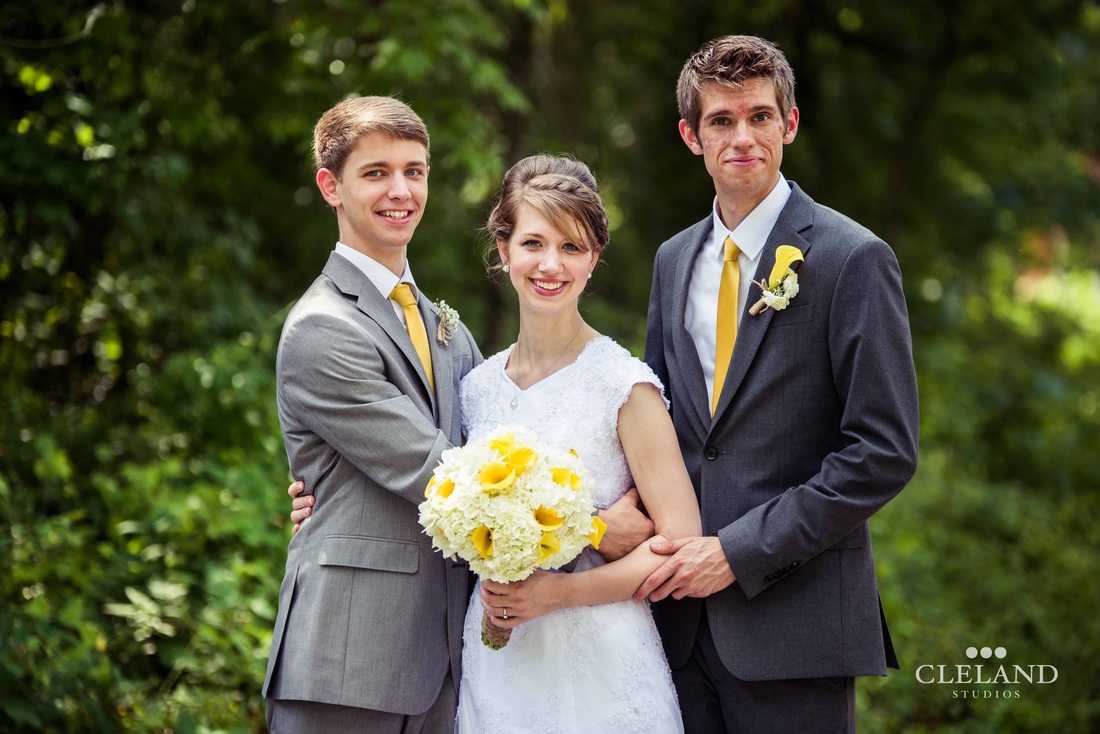
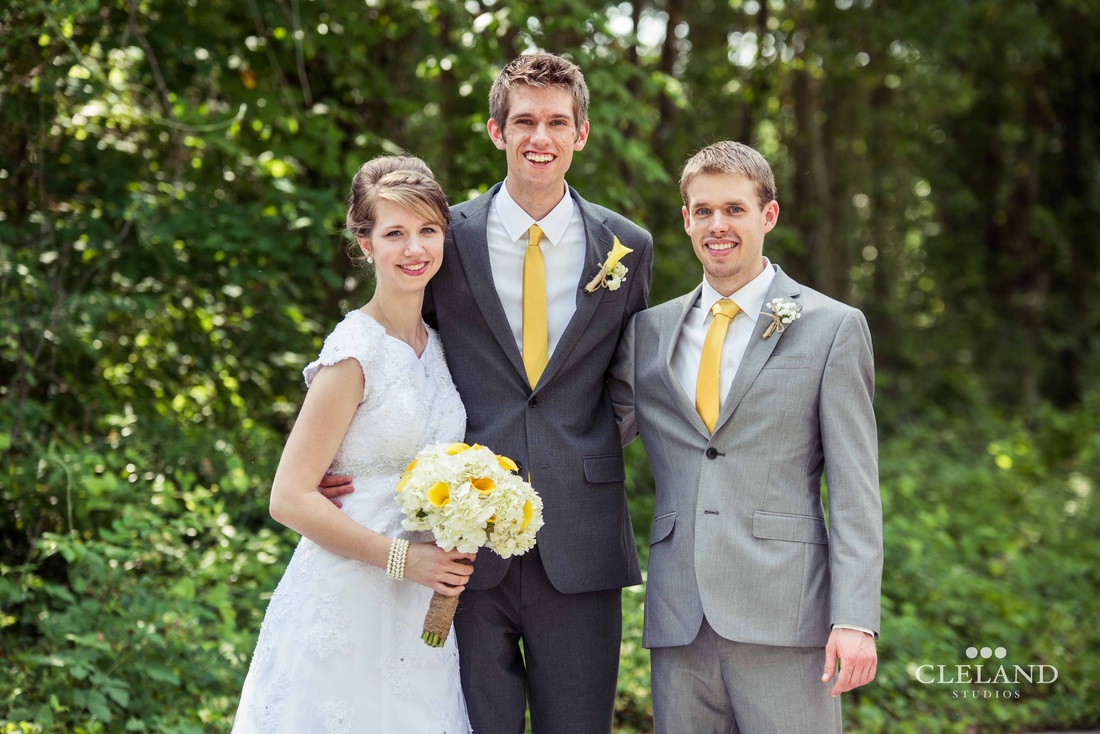
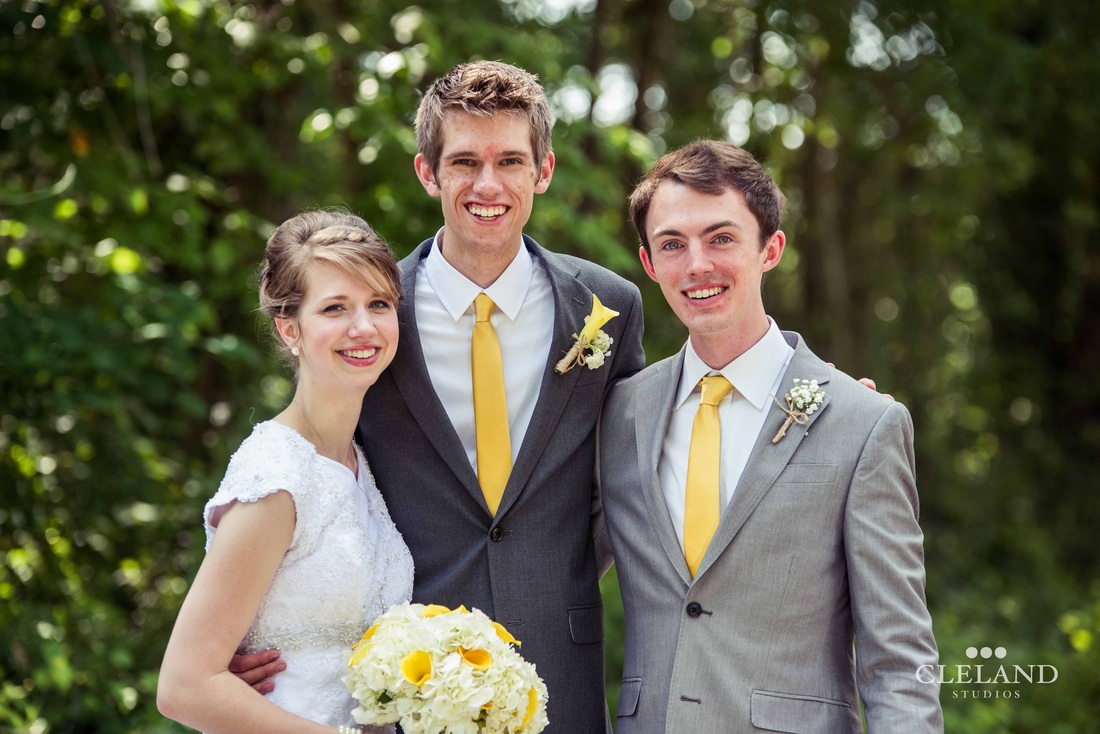
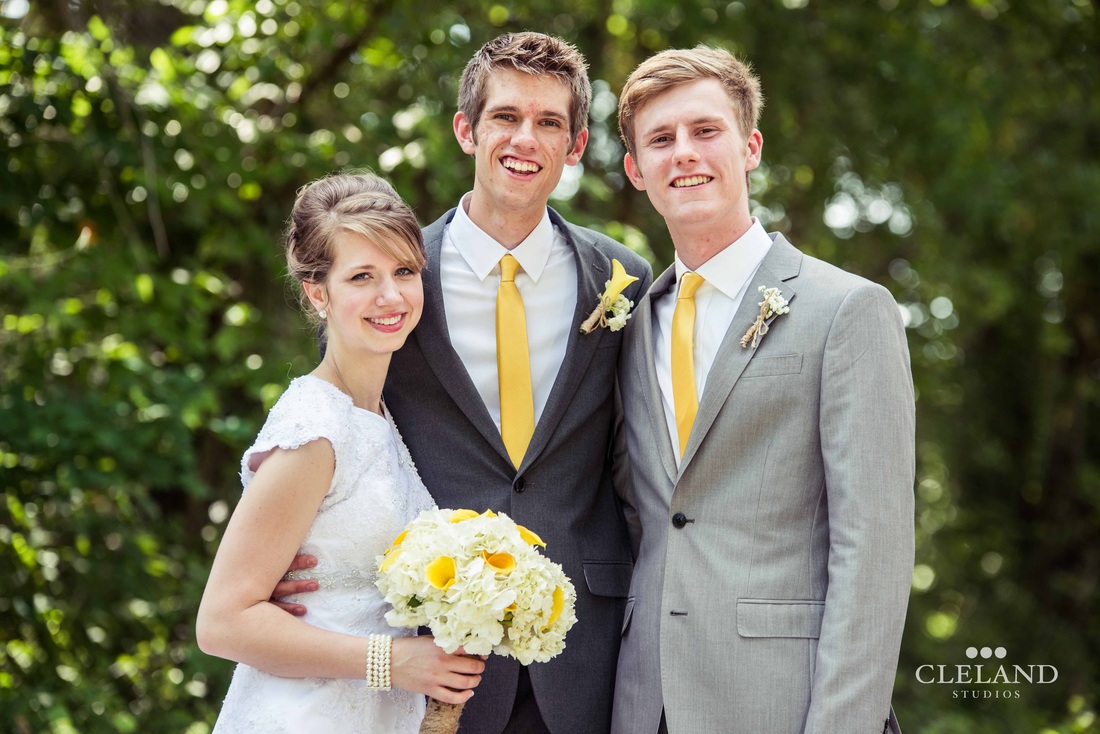
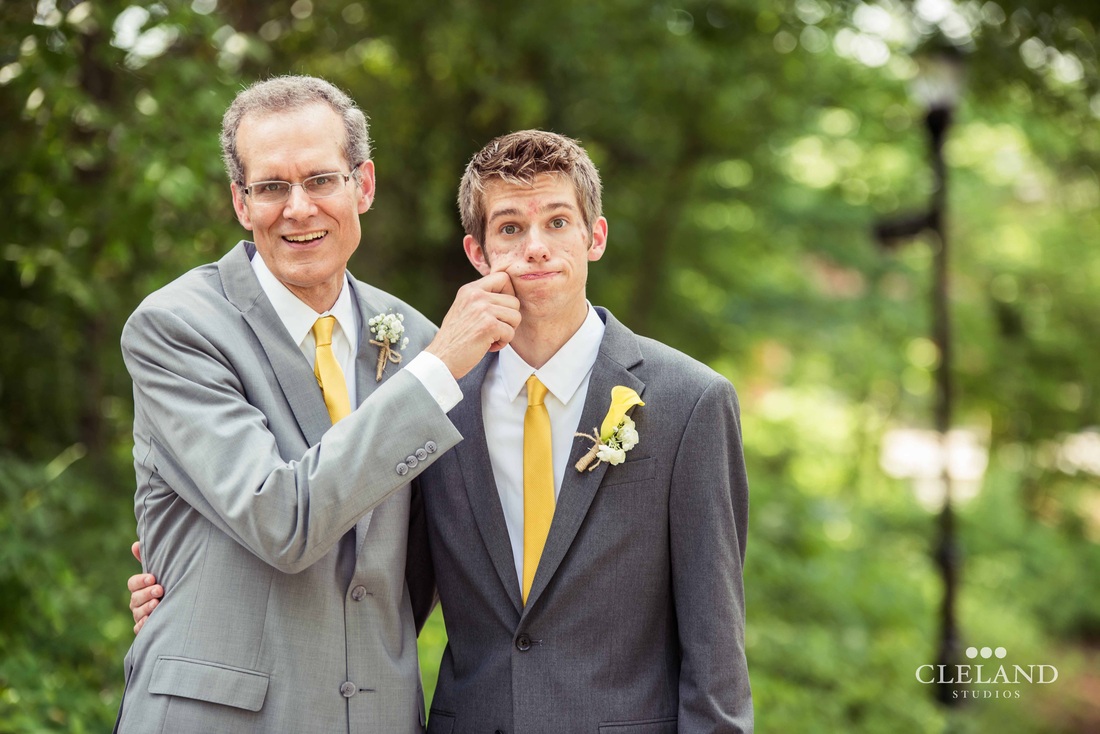
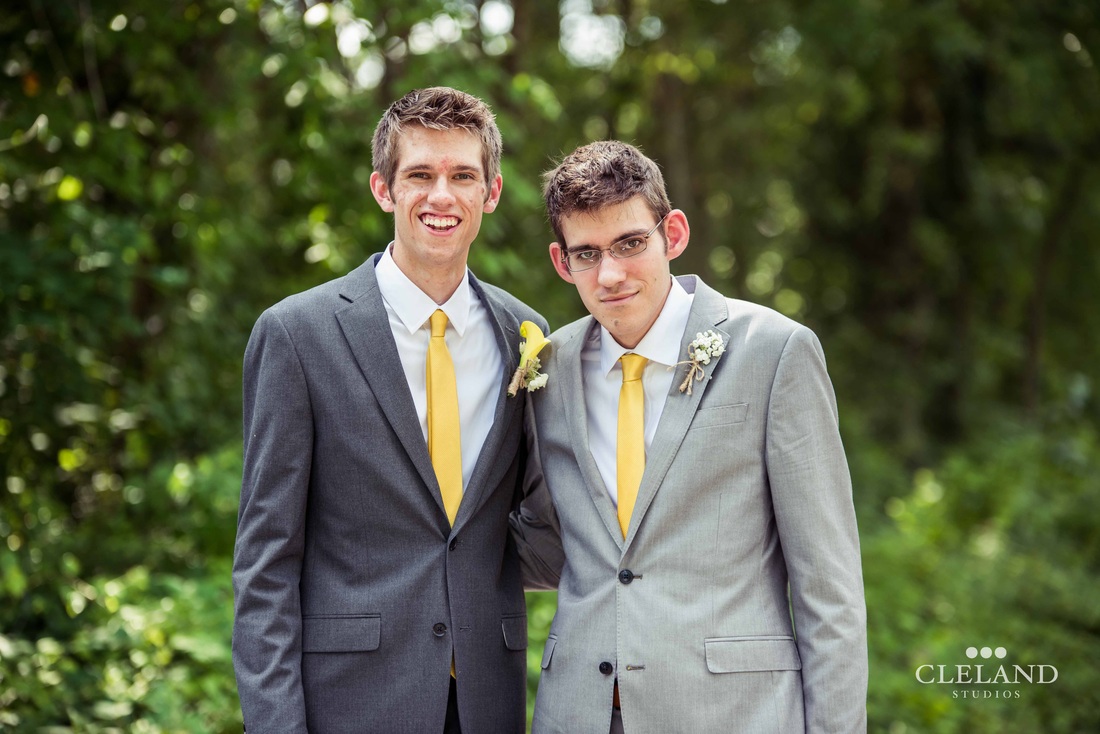
These ushers did an outstanding job.
 |  |
 |  |
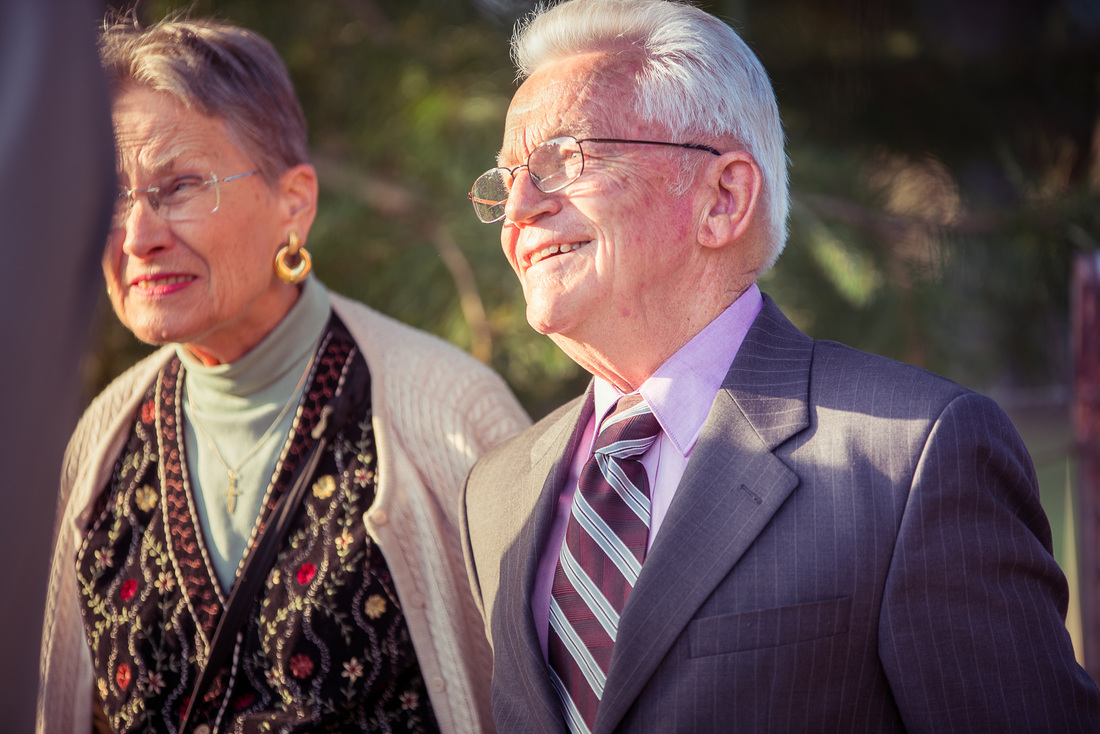
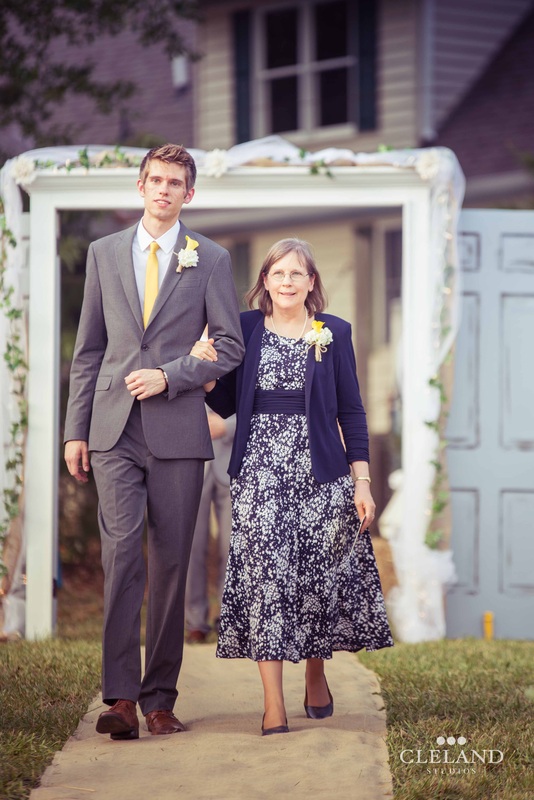 Loren and his beautiful mom. | 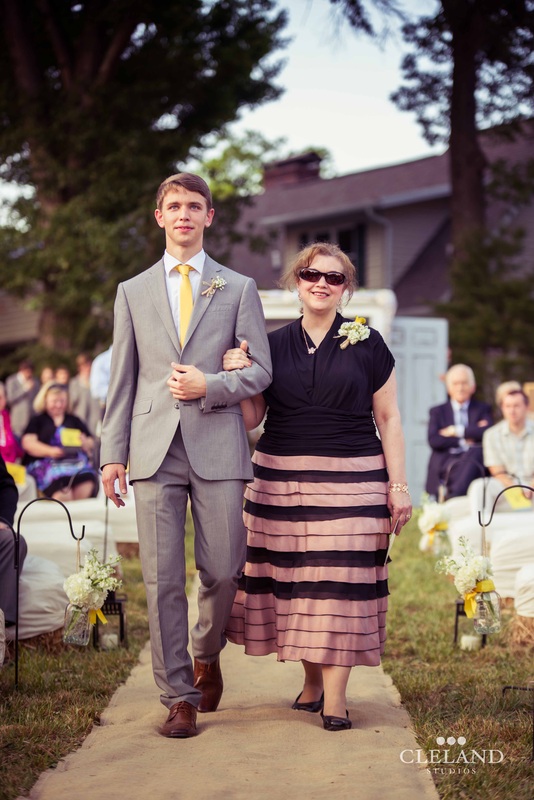 William and my beautiful mama. |
 |  |
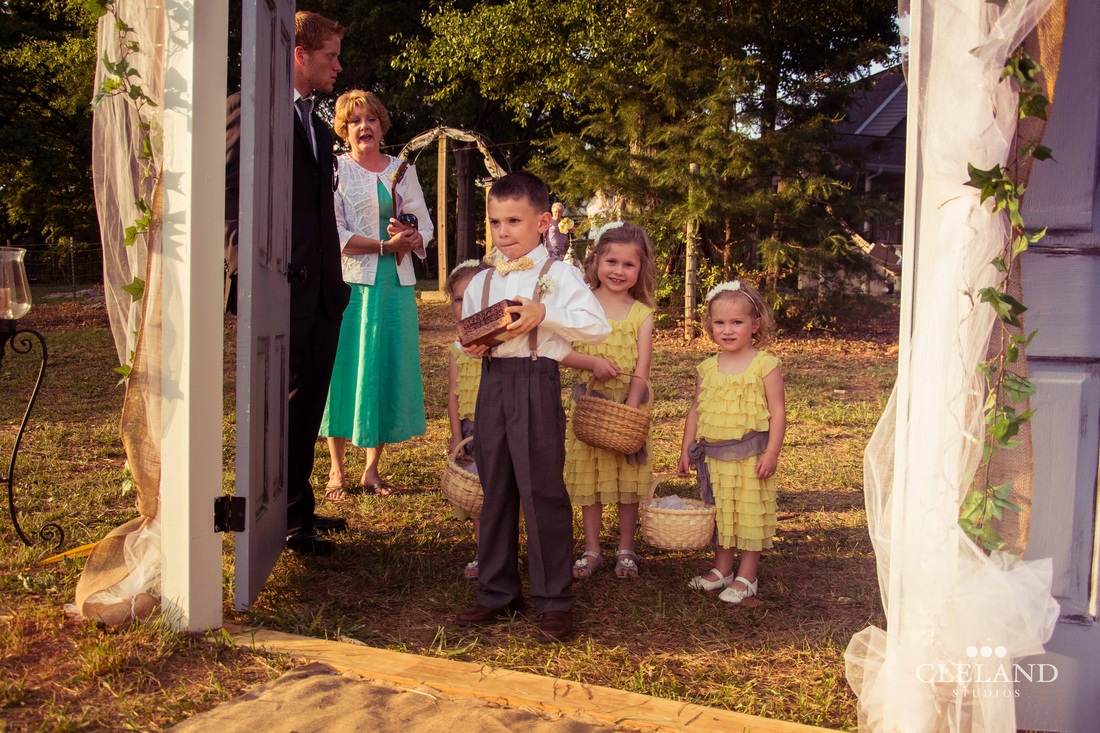
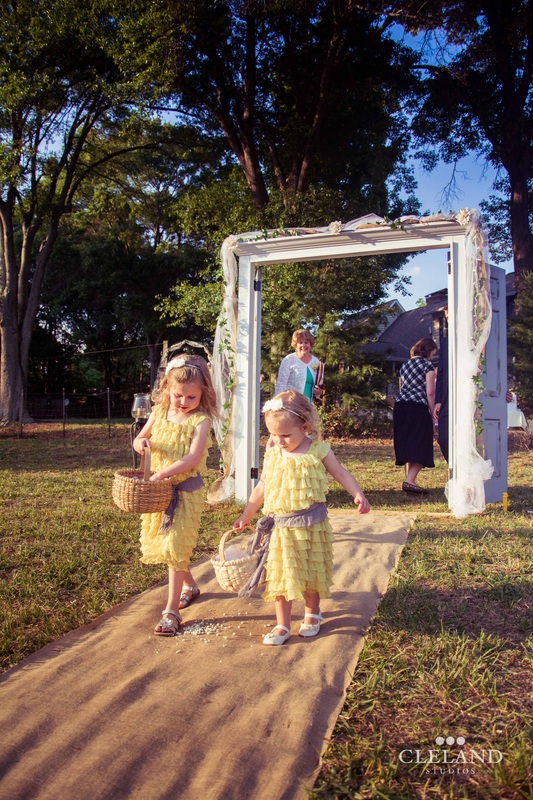
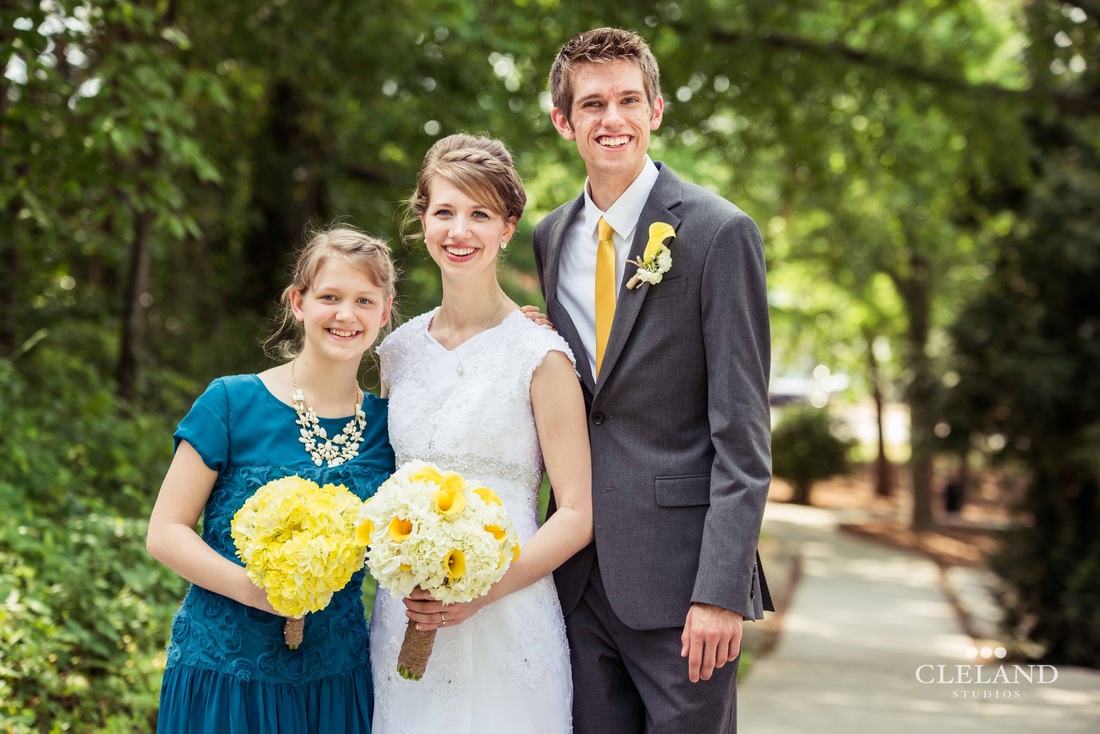
And my favorite little people. They stole the show. :)

He took his job of carrying the rings down the aisle VERY seriously.
 |  |
 |  This face though. :) |

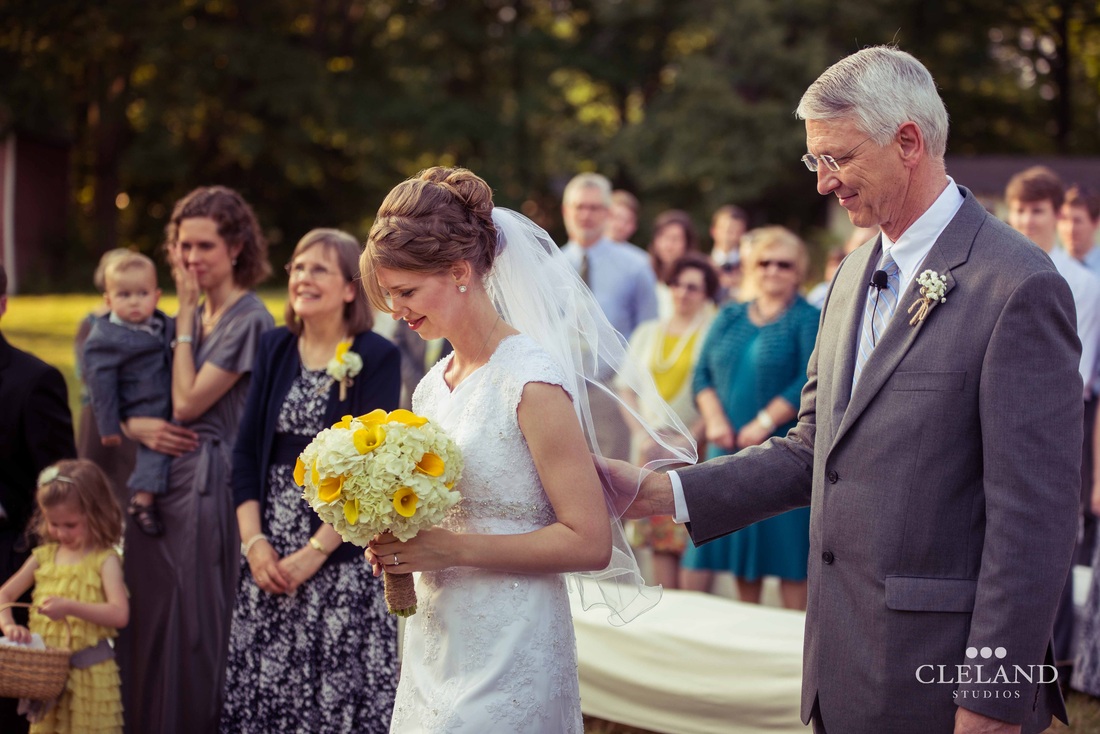

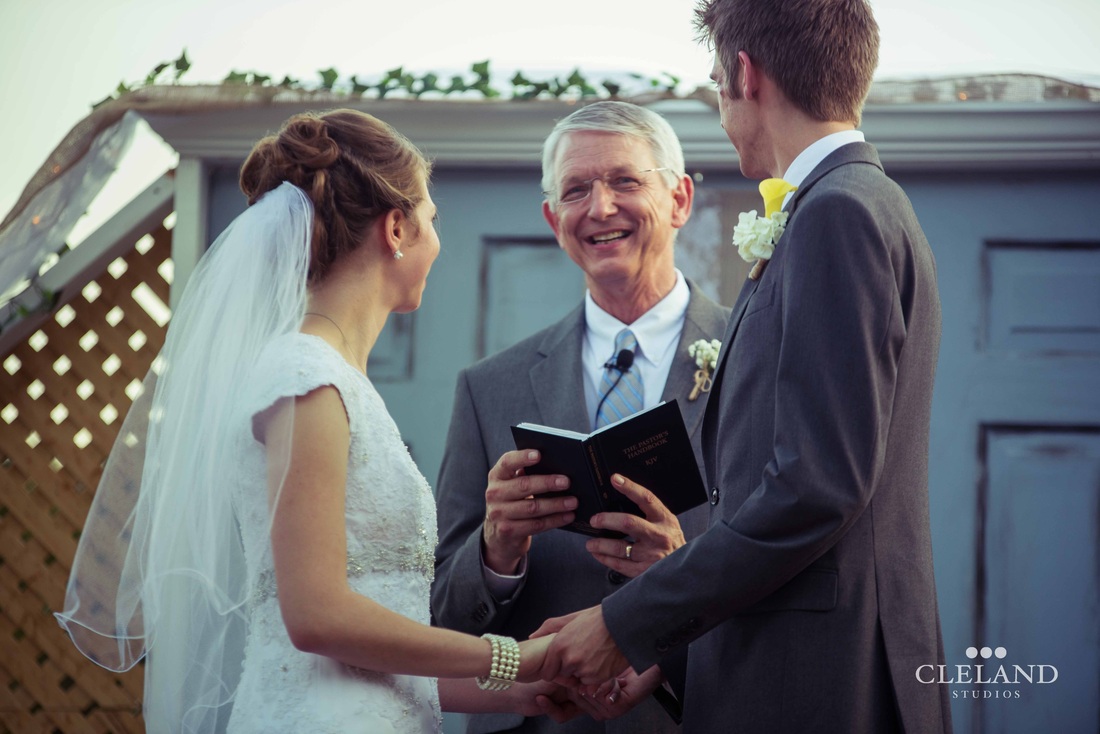
It was so special to have my dad do the vows & exchange of rings.
 | 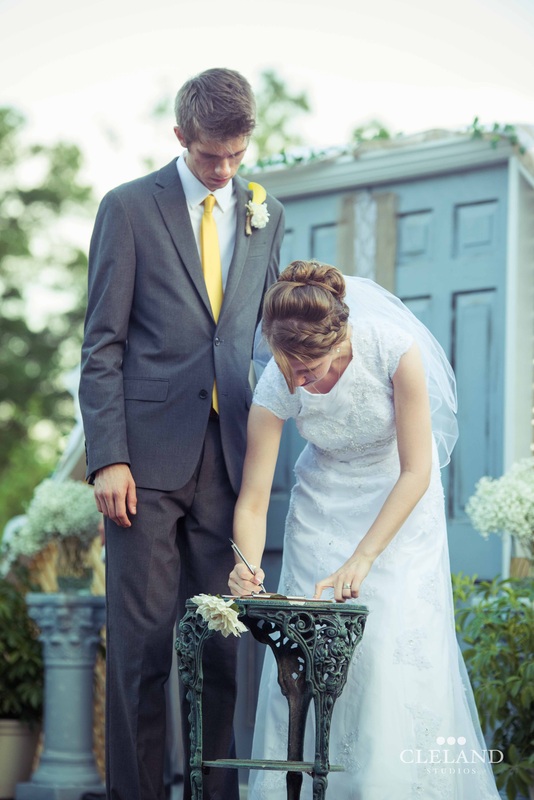 Signing the marriage license. |
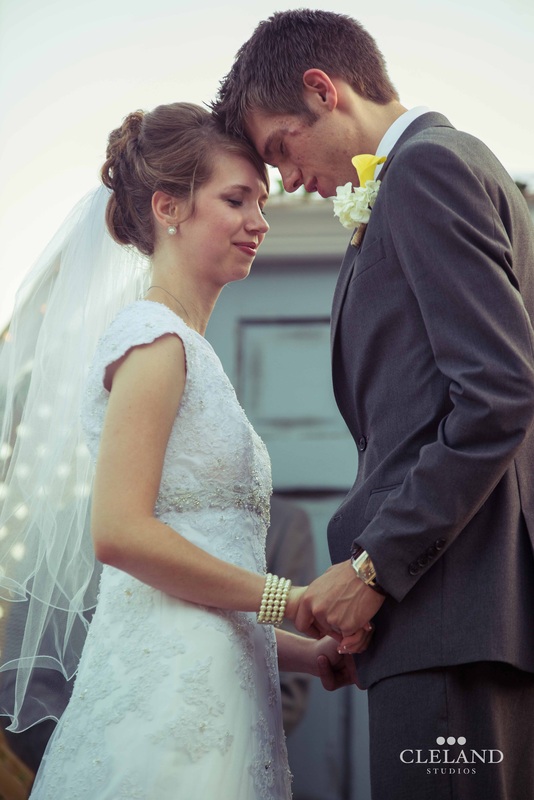
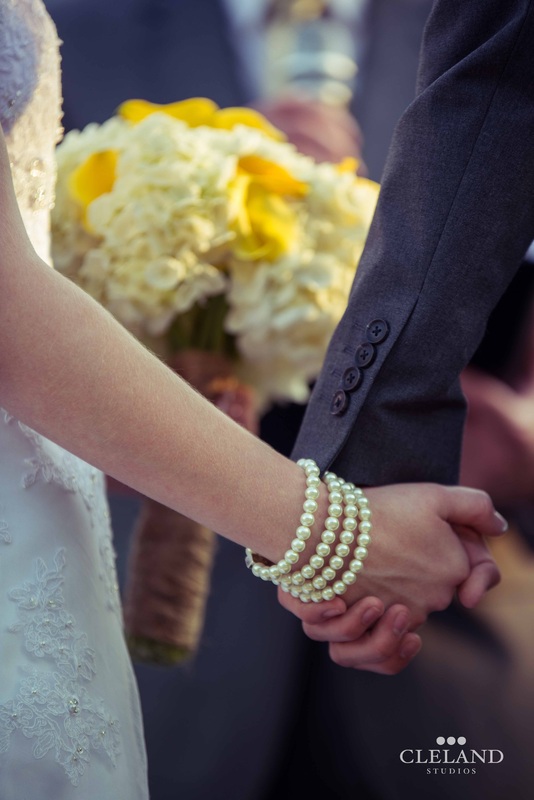
Praying together for the first time as a married couple.
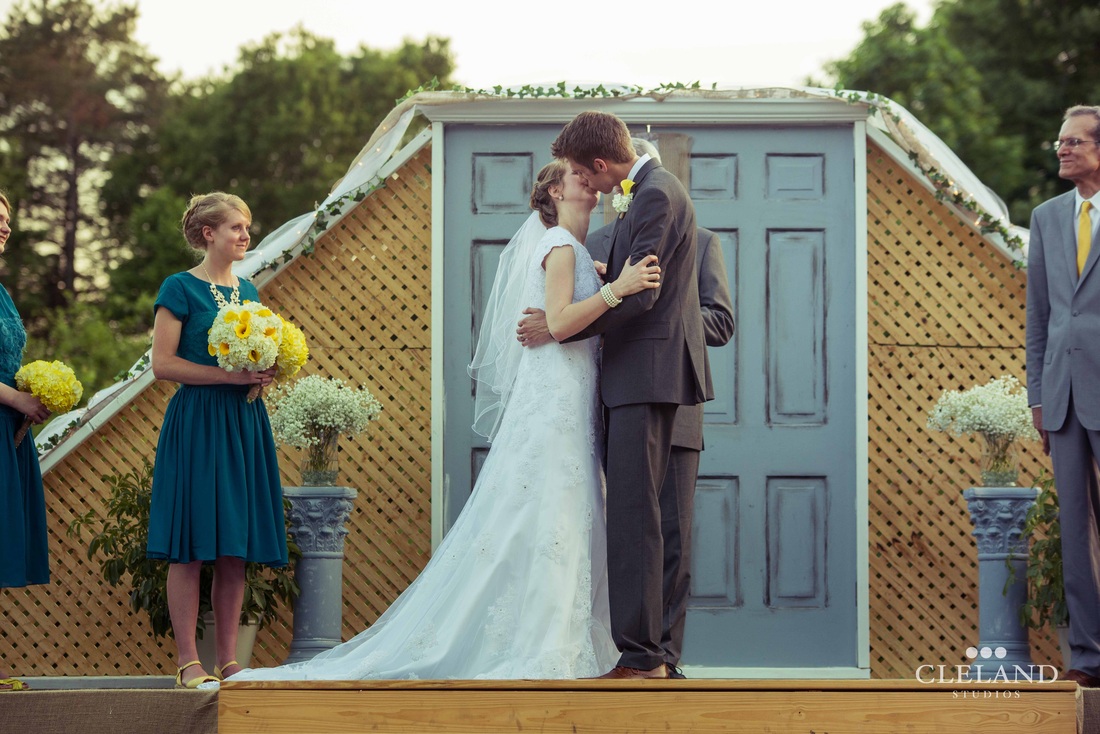
And finally the KISS.

MR. and MRS. LOREN CRISP! :)


And that was our lovely ceremony! I hope you didn't get too overwhelmed by the amount of pictures and that you stop by next week for the next series!
Missed previous Wedding posts? Check them out here:
Part I: First Look
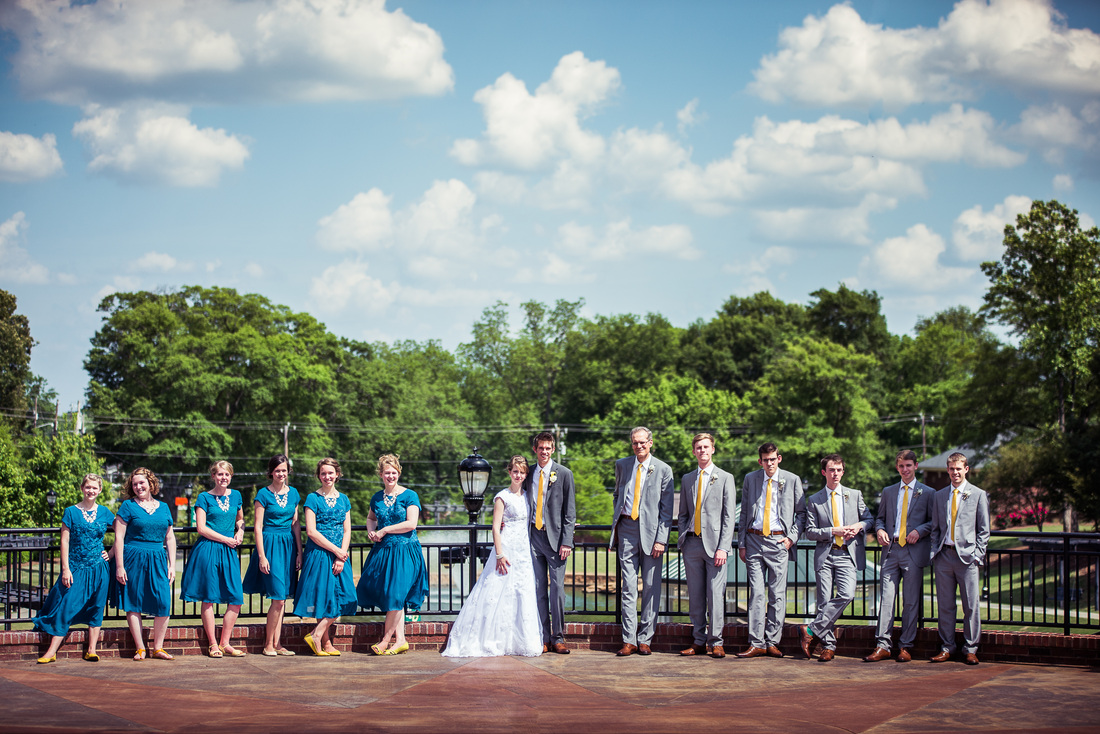
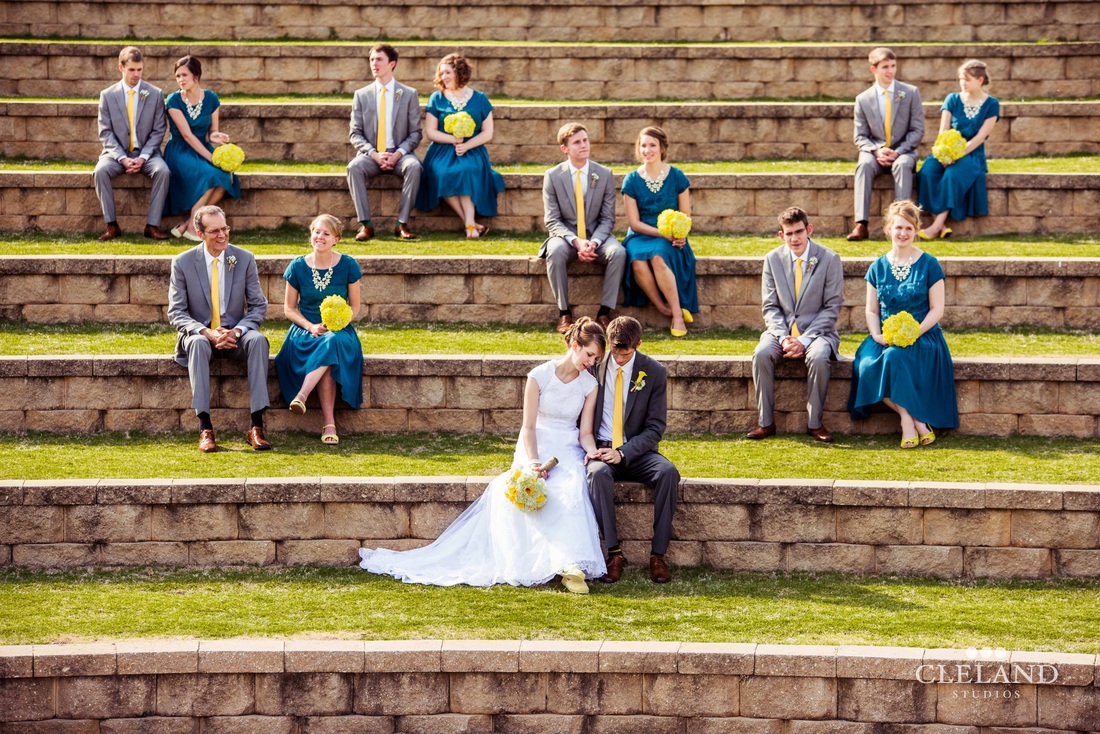
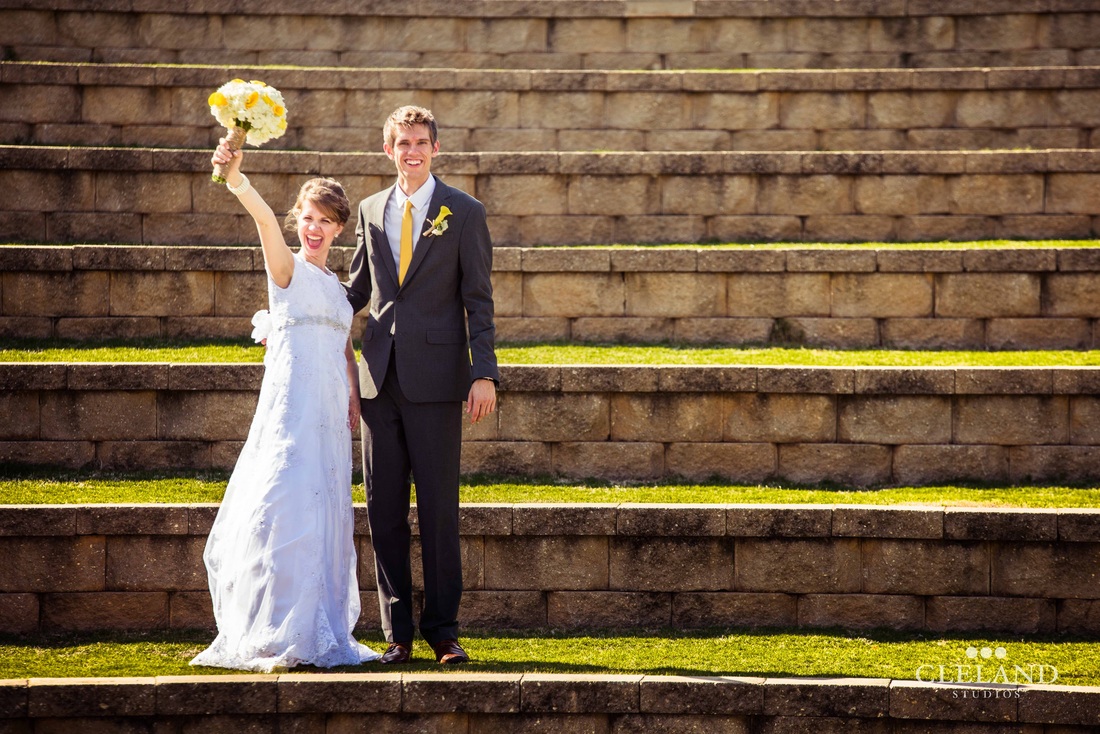
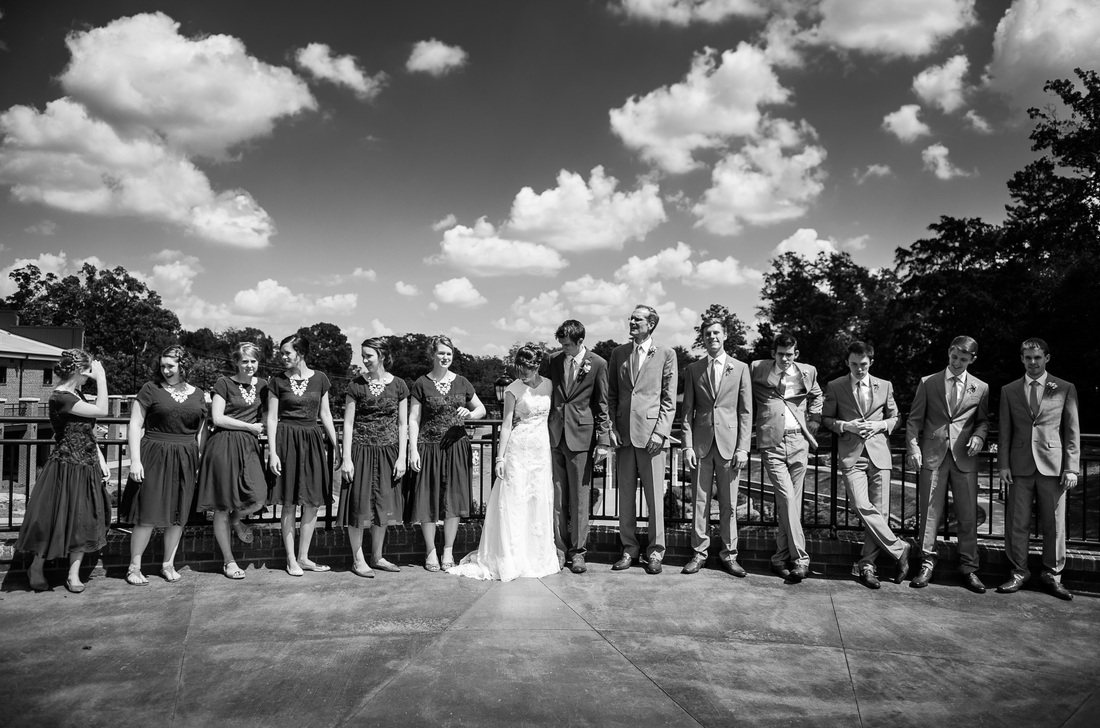
Part II: Bridal Party
Part IV: Reception
All photos courtesy of Cleland Studios
Missed previous Wedding posts? Check them out here:
Part I: First Look
Part II: Bridal Party
Part IV: Reception
All photos courtesy of Cleland Studios


 RSS Feed
