My attempt at making burlap stockings was aided by my wonderful cousin Dennae, and we had a blast! Naturally, we had Christmas music and all the Christmas lights around the apartment on to help motivate us.
Making these stockings was rather easy and here are the steps we took:
Making these stockings was rather easy and here are the steps we took:
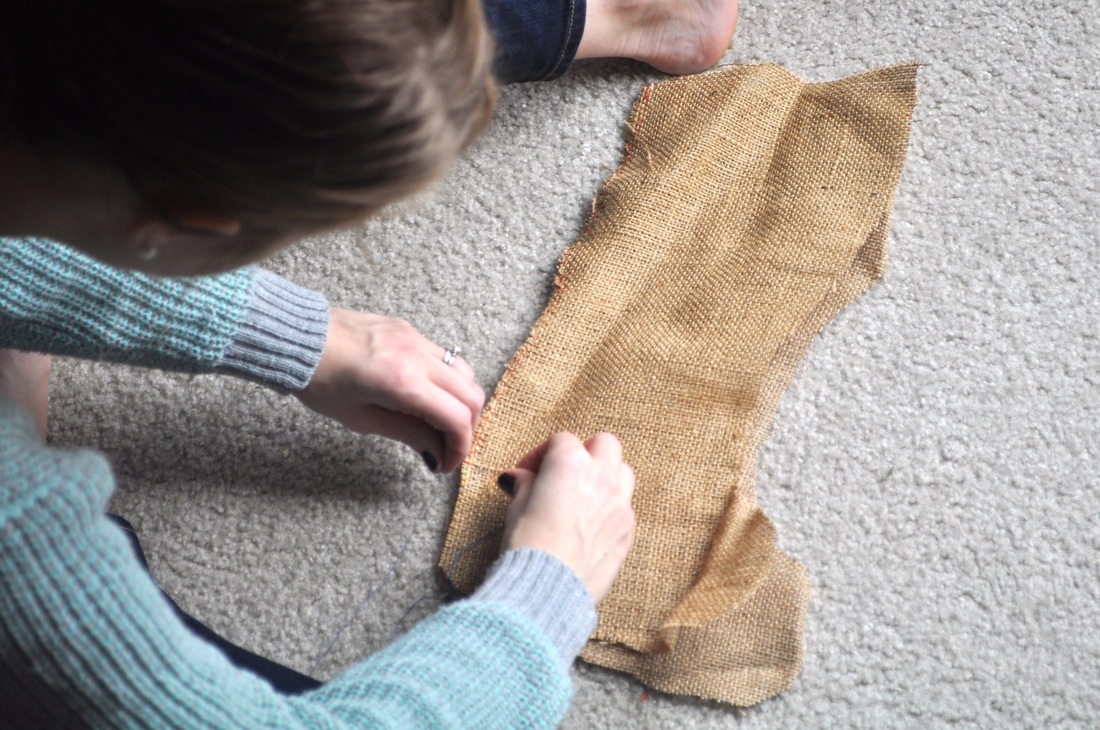
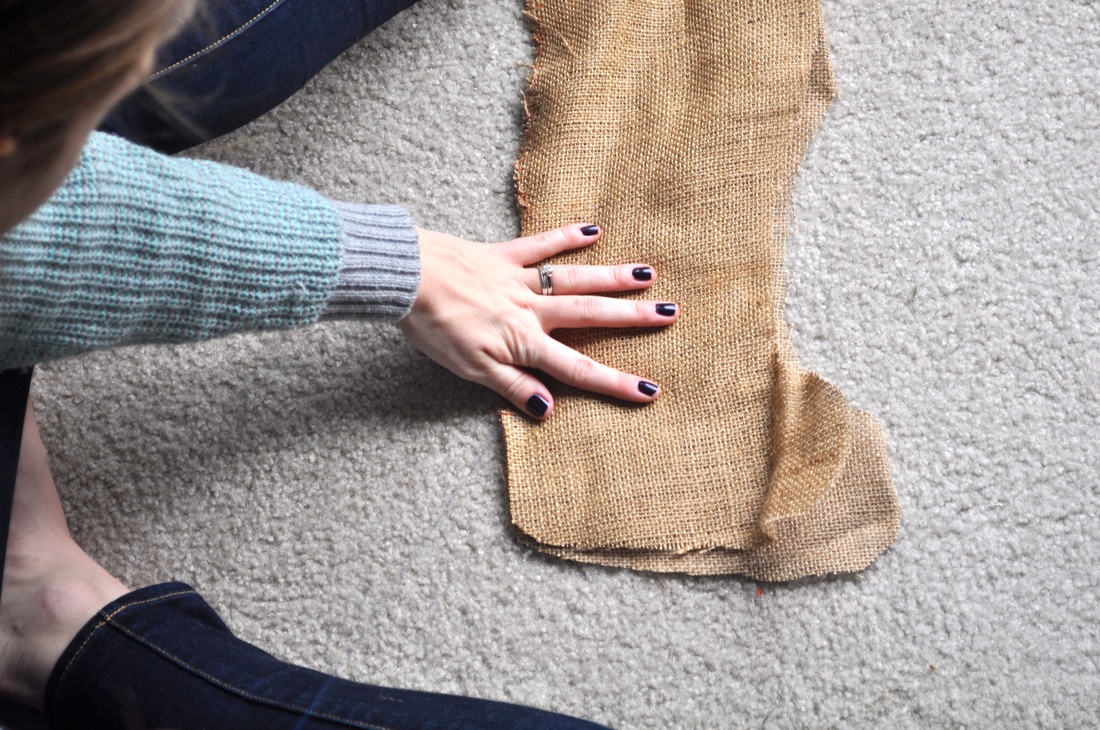
1. Using either a stocking you already have to guide or your great artistic skill, trace/cut out the 2 sides of the stocking.
Dennae volunteered to cut out our stockings freehand, and did a pretty impressive job. Scissors and paper with no directed guidance can be dangerous in my hand.
Dennae volunteered to cut out our stockings freehand, and did a pretty impressive job. Scissors and paper with no directed guidance can be dangerous in my hand.

2. With either a sewing machine or by hand, sew the two sides together.
 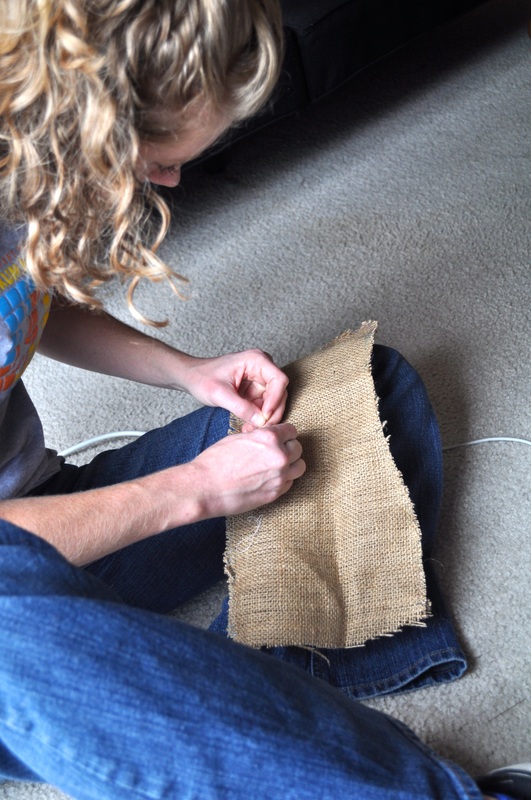 | 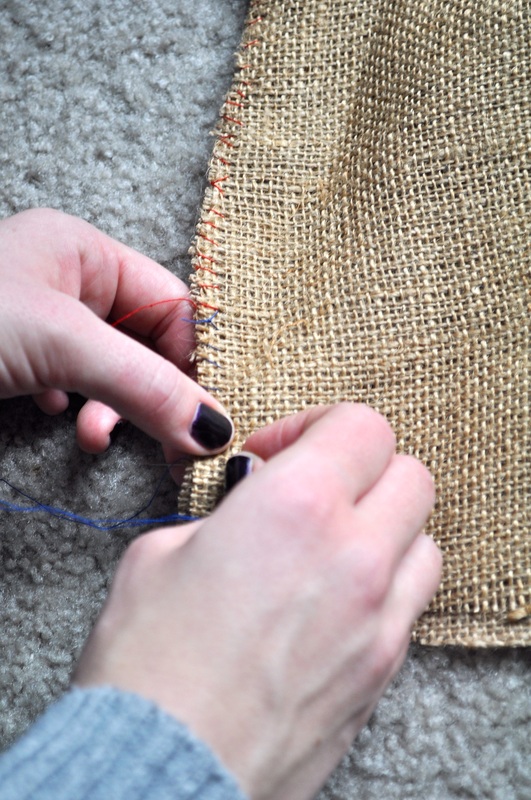  |
I don't have a sewing machine, and the only needles & thread I had were from an emergency sewing kit (I'm cheap, I know!). While there were several needles and bountiful colors to choose from, the threads were all rather short, so we had to use multiple colors for each stocking. But once right side out, you can't even tell!
3. Flip the stocking right side out.

4. Iron to smooth out, if necessary (my burlap was super wrinkled).
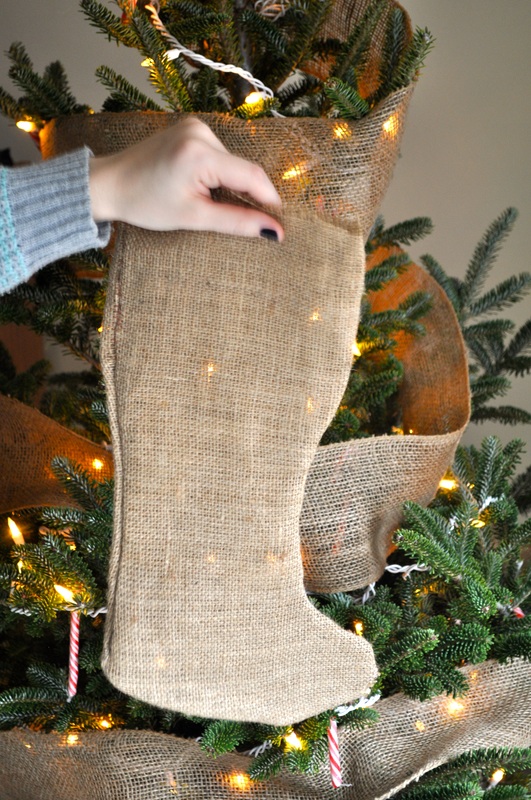
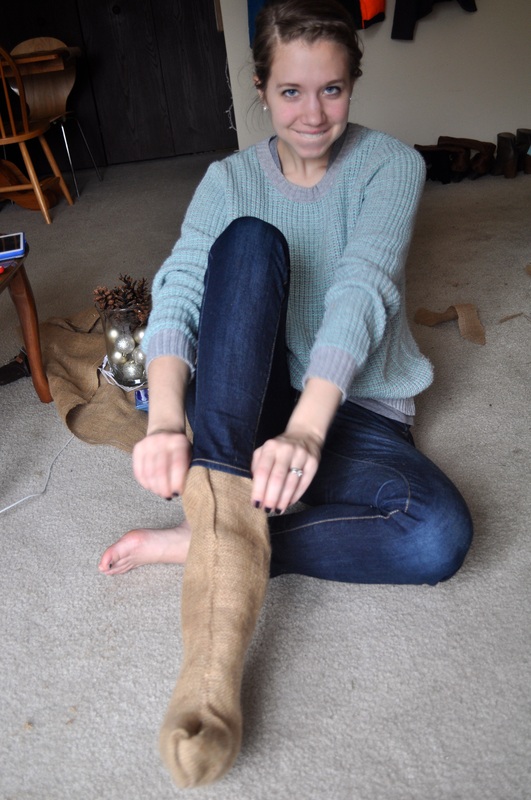
5. Try on the stocking to ensure it's the right size.
6. Add embellishments as meets your fancy. Apparently none have met my fancy yet. I need to find some.

And that's it! Pretty Easy! My friend Danielle over at Mostly Sewing did a way better job of making burlap stockings (with awesome embellishments!!) last year with a sewing machine, so go check out her tutorial here.

 RSS Feed
